
In Part 1 we used Hyper-V to build, update, and sysprep our custom Windows 8.1 Installation. Now we need to make some Install media!
If you’re unfamiliar with this process, or you haven’t built customized Windows media since the XP days, you may not be familiar with WIM files. Essentially, the WIM file is a compressed image which is deployed during Windows installation. (Think of it like extracting a large .ZIP file.) If you take a look at your Windows 8.1 install media, you’ll find that amongst the plethora of files, the largest will be \Sources\install.wim – approximately 3.1 GB on x64 media.
The last step you completed in Part 1 was creating a second Checkpoint (named Complete). I’ll explain why, next.
Creating a WIM file
As mentioned above, the install.wim file is the actual source used when installing Windows 8.1. Thus, we need to create our own WIM file, and replace the stock one with it. To do this, we need to “capture” the last Checkpoint.
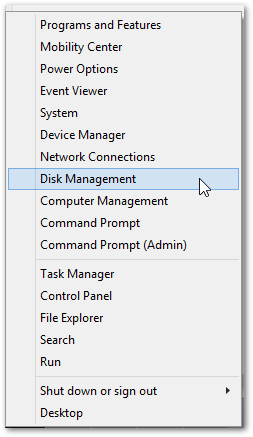
On your host (physical machine), open up Disk Management.
WIN+X > Disk Management
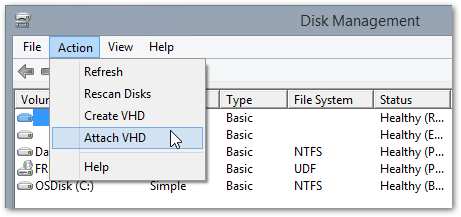
- Navigate to Action > Attach VHD
- Click Browse
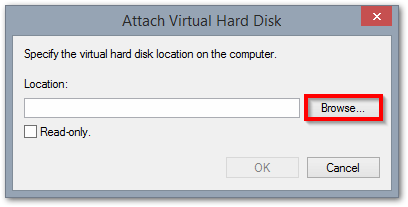
- Navigate to the directory where the virtual disks are stored for stage01.
By default this directory is: C:\Users\Public\Documents\Hyper-V\Virtual hard disks/ - In the bottom right, change
Virtual Disk files (* .vhd, * .vhdx) to All files (* . *)

- Select the file with the most recent Date Modified – this is your Complete Checkpoint!
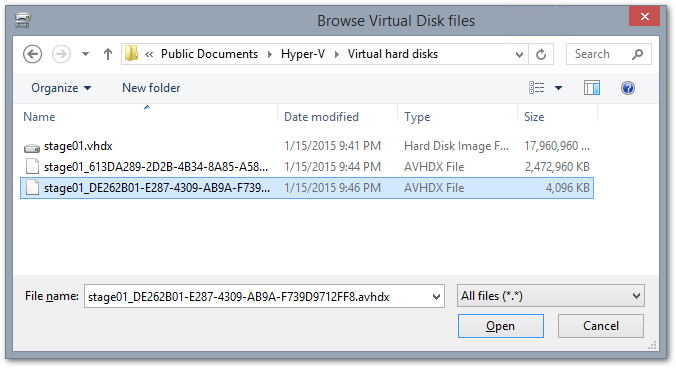
- Click Open
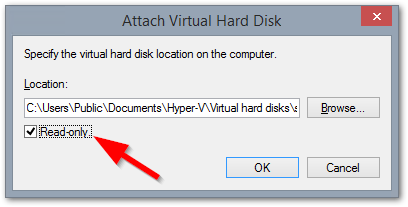
- Check box Read Only and then click OK.
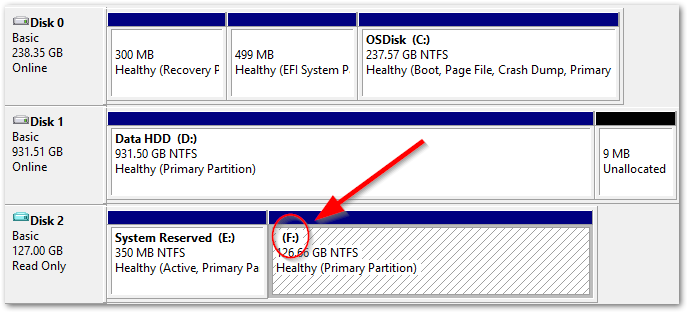
At this point you will see one new disk with two partitions. Make note of the second partition drive letter (in my case, the F: Drive).
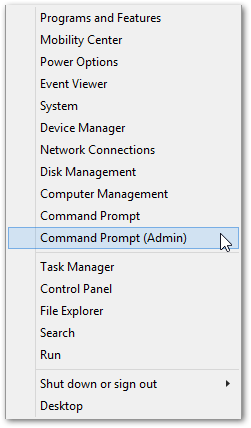
- Open the Command Prompt with Administrator Rights.
WIN+X > Command Prompt (Admin)
- Type
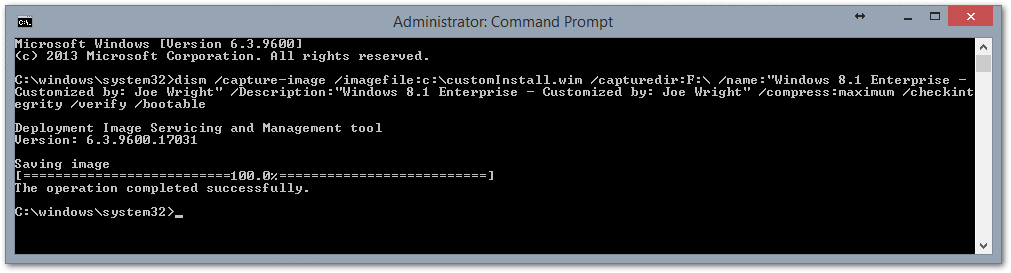
dism /capture-image /imagefile:c:\customInstall.wim /capturedir:F:\ /name:"Windows 8.1 Enterprise - Customized by: Joe Wright" /Description:"Windows 8.1 Enterprise - Customized by: Joe Wright" /compress:maximum /checkintegrity /verify /bootable– replacing F: with the second partition drive letter you made note of earlier – and replacing “Customized by: Joe Wright” with whatever you want.
Depending on your processing power, this may take a little while. When complete, you will see “This operation completed successfully.” You should now see a file named “customInstall.wim” at the root of your C:\ Drive.
Once confirmed, head back into Disk Management and right-click the Read-Only VHD disk and click Detach VHD. Click OK when prompted to confirm.

Build the Customized Media
- Double click the stock ISO you used to install Windows in stage01 to mount it within File Explorer.
- Open This PC and double click the newly mounted drive.
(In my case, Drive E:IR3_CENA_X64FREV_EN-US_DV9) CTRL+A(to select all) andCTRL+C(to copy)- Create a new folder named WinExtract off your C:\ drive
- (Another location is fine too, but these instructions will be assuming C:\)
- Navigate to
C:\WinExtract\andCTRL+V(to paste).

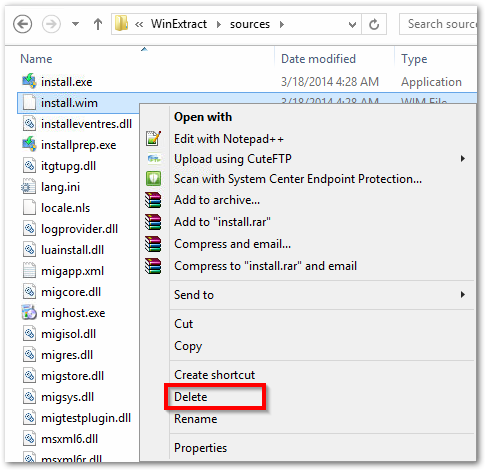
- After the copy completes, navigate to
C:\WinExtract\sources\and delete the install.wim file.
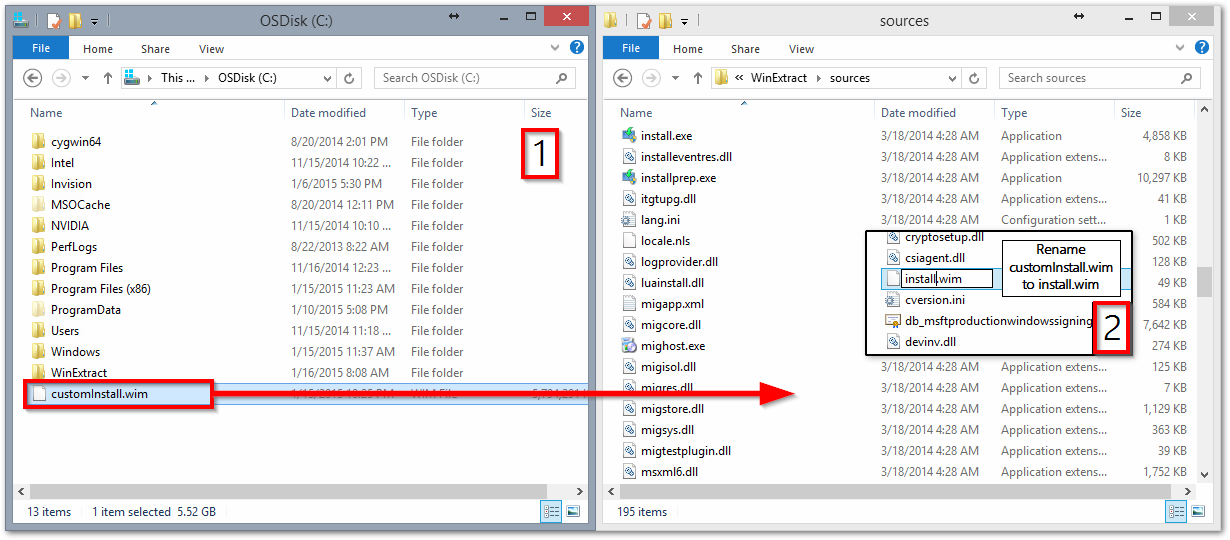
- Move
C:\customInstall.wim(your custom WIM) toC:\WinExtract\sources\. - Rename
C:\WinExtract\sources\customInstall.wimtoinstall.wim.
At this point, you are ready to create your ISO.
Create UEFI Bootable ISO
- Open Command Prompt (Admin)
- Change Directory to:
C:\Program Files (x86)\Windows Kits\8.1\Assessment and Deployment Kit\Deployment Tools\amd64\Oscdimg\ - Run
oscdimg -m -o -u2 -lIR3_CENA_X64FREV_EN-US_DV9 -udfver102 -bootdata:2#p0,e,bC:\WinExtract\boot\etfsboot.com#pEF,e,bC:\WinExtract\efi\microsoft\boot\efisys.bin C:\WinExtract\ C:\en_windows_8.1_enterprise_with_update_x64_dvd_CUSTOM.iso

Once complete, you now have a UEFI bootable ISO named en_windows_8.1_enterprise_with_update_x64_dvd_CUSTOM.iso located at the root of your C:\ Drive!
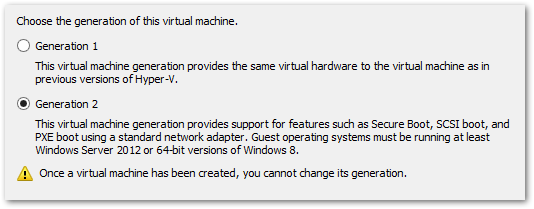
You can test to make sure it works by creating another Virtual Machine within Hyper-V and choosing Generation 2 (UEFI bootable).
Make UEFI Bootable USB Disk
If you’ve ever needed to create a UEFI bootable USB disk before, you may be familiar with the (brilliant) product named Rufus. It’s a very straightforward Windows ISO to USB tool which, right off the bat, asks if you want to do a GPT partition (UEFI bootable) or a MBR partition (BIOS bootable) drive.
There is only one problem with Rufus – we can’t use it when our new ISO contains a WIM file that is larger than 4 GB!
UEFI / GPT bootable drives require one of two configurations:
- The entire drive be formatted as one large FAT32 partition.
This is how most flash drives are formatted.- The drive have a FAT32 formatted partition (with EFI boot files) and another (possibly NTFS formatted) partition.
This is how a UEFI Windows Installation is typically formatted.
Unless you have one of the new (pretty expensive) flash drives that report to your machine as an external hard drive (Fixed Disk), (or you’re using an external hard drive for that matter) neither of these solutions will work for us. This is because FAT32 partitions cannot contain a single file larger than 4 GB and “normal” flash drives cannot have more than one partition.
So how do we install our Custom Windows 8.1 Media via a flash drive?
Use two flash drives – with the help of the Microsoft Deployment Toolkit.
- Double-Click
C:\en_windows_8.1_enterprise_with_update_x64_dvd_CUSTOM.isoto mount your custom ISO. Make note of the drive letter assigned.In my case, the drive letter is E:\
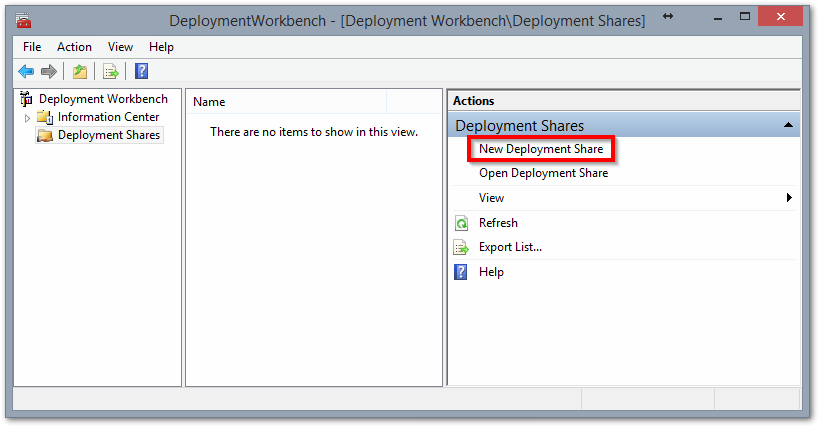
- Open Deployment Workbench
- Navigate to Deployment Shares and click New Deployment Share.
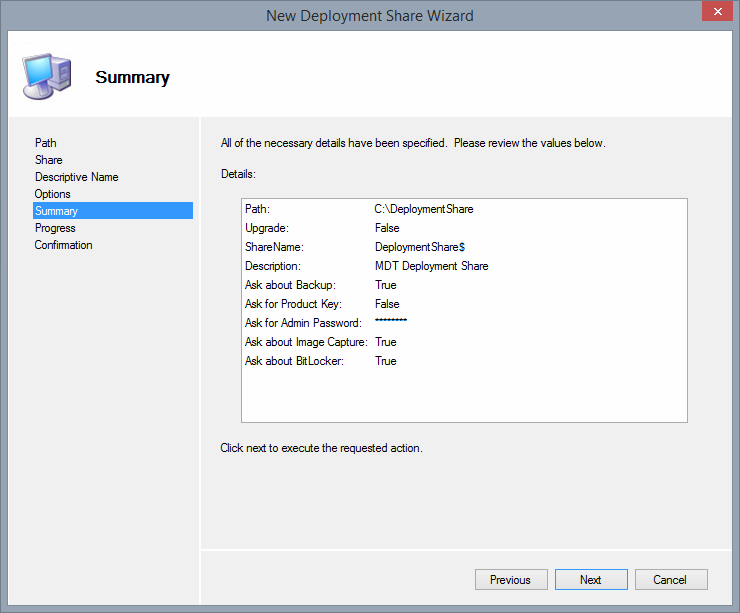
- Accept the defaults (Click Next 5x) and then click Finish.
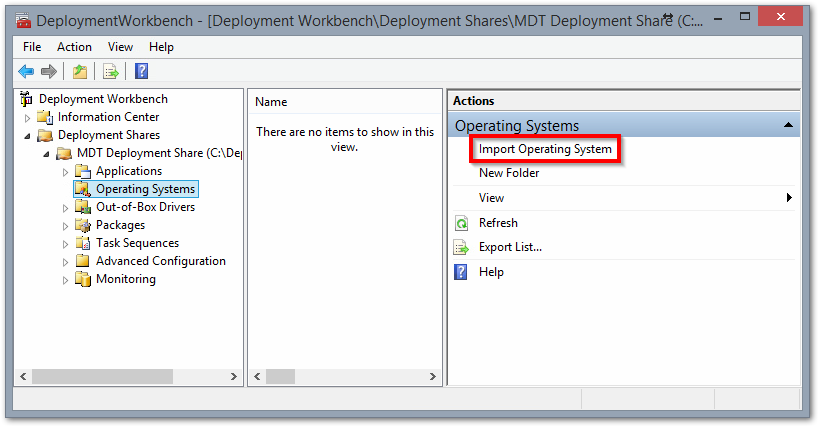
- Navigate to the Operating Systems section and click Import Operating System.
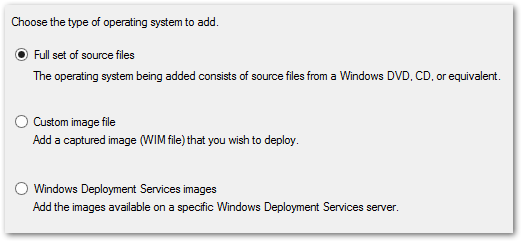
- Select Full set of source files and click Next.
- For the Source directory, click Browse and navigate to the drive letter you made note of earlier.
(E:\ in my case.)
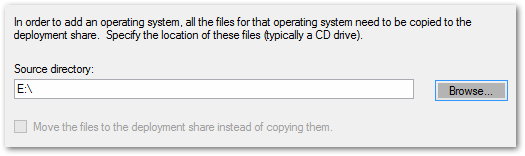
- Click OK, then click Next.
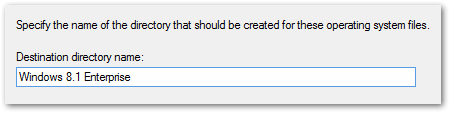
- Pick a name (or keep the default) and click Next twice to execute the action.
- Select Full set of source files and click Next.
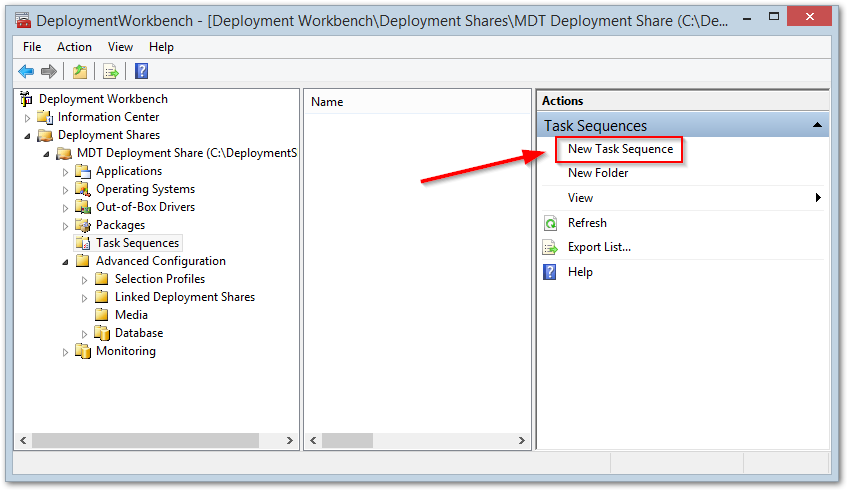
- Navigate to the Task Sequences section and click New Task Sequence
- For the Task Sequence ID enter: 1
- For the Task Sequence Name enter: Install OS
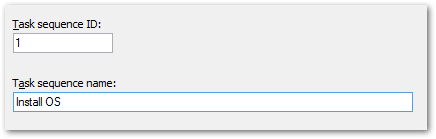
- Click Next
- Choose Standard Client Task Sequence as the sequence template.

- Select the OS name you imported earlier.
(Mine is named Windows 8.1 Enterprise).
- Click Next 3x
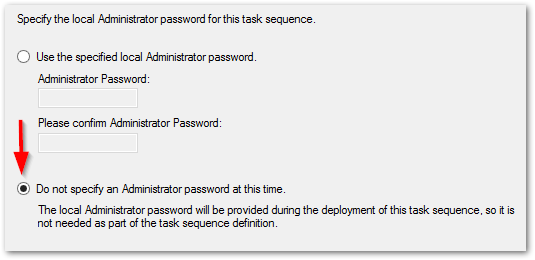
- Select the Do not specify an Administrator password at this time option and click Next 2x.
- Click Finish
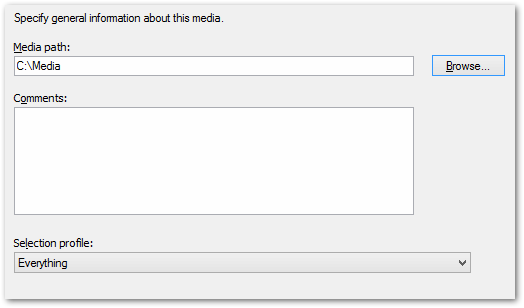
- Navigate to the Advanced Configuration > Media section and click New Media.

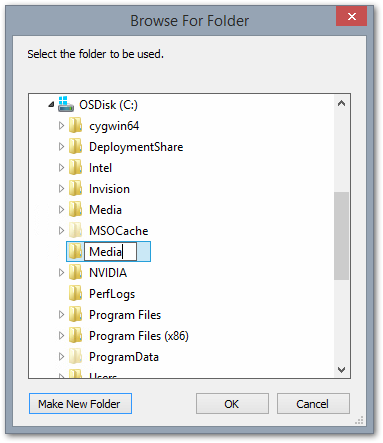
- Click Browse and navigate to the C:\ drive.
- Click Make New Folder and name it “Media” > Click OK.
- Ensure Selection profile is set to Everything and click Next twice.
- Once complete, click Finish.
- Right-click the new entry named MEDIA001 and click Update Media Content.
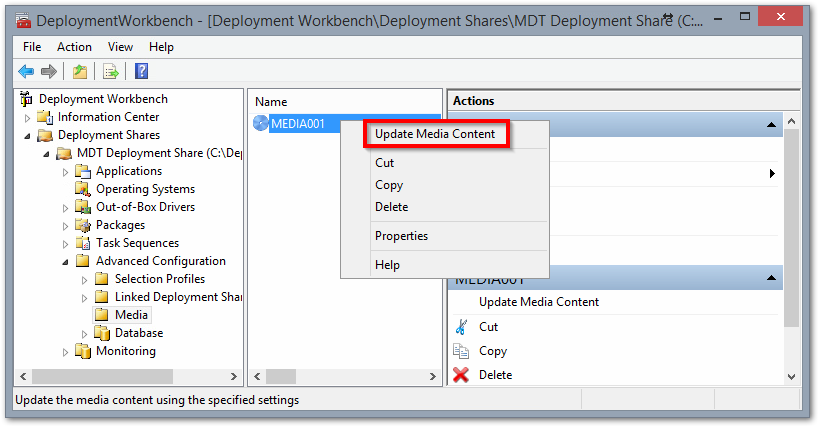
The previous steps are a quick and dirty walk through of adding your customized ISO into the Deployment Workbench and generating MDT Media. Why we did this will be covered next. If you would prefer, there are many additional customizations that can be accomplished here, however I am not going to cover them in this article.
As established above, the secret to booting our customized media is by utilizing two USB drives. This is why we installed MDT and went through the steps of generating MDT media – MDT allows a “boot” drive (with UEFI support) and a secondary “deploy” drive. Let’s prepare those now.
- Gather two USB drives and plug them into your host.
- The BOOT drive can be a 1GB drive.
- The DEPLOY drive must be large enough to fit your WIM + about 1.2 GB.
Using our math skills, that would mean a 4 GB WIM + 1.2 GB = 5.2 GB. AKA: we'll need at least a 6 GB flash drive (If such a size exists).
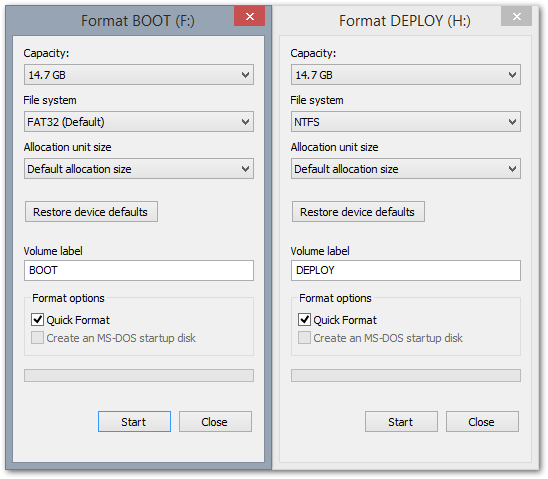
- Format the BOOT drive as FAT32 and label the volume as BOOT.
- Format the DEPLOY drive as NTFS and label the volume as DEPLOY.
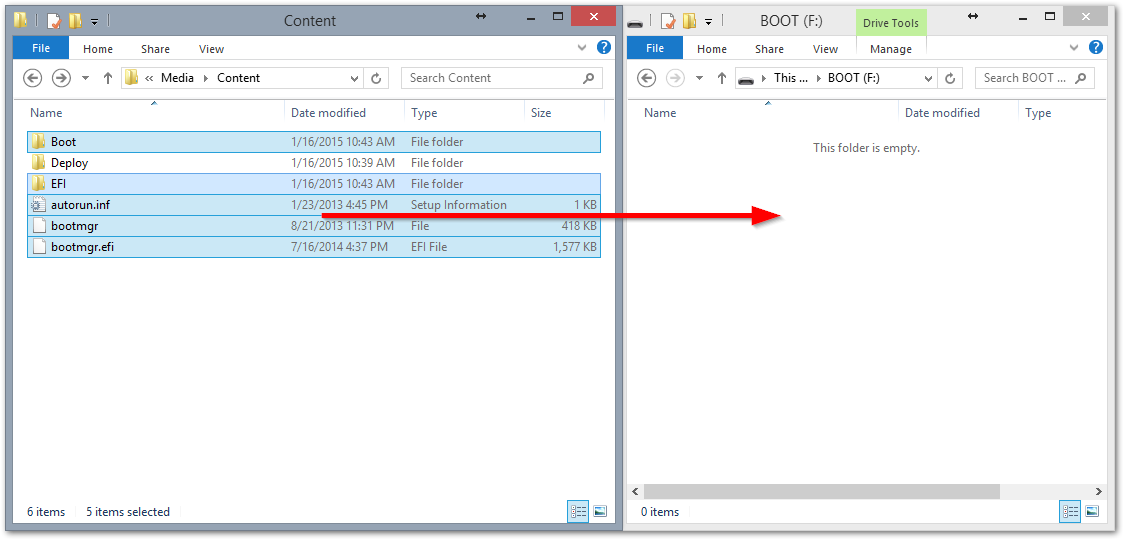
Now we’re ready to start copying data to the drives. Open an Explorer window and navigate to C:\Media\Content\.
- Perform the following steps for the BOOT drive:
- Copy the
C:\Media\Content\Boot\folder to the root of the BOOT drive. - Copy the
C:\Media\Content\EFI\folder to the root of the BOOT drive. - Copy the following files to the root of the BOOT drive:
C:\Media\Content\autorun.infC:\Media\Content\bootmgrC:\Media\Content\bootmgr.efi
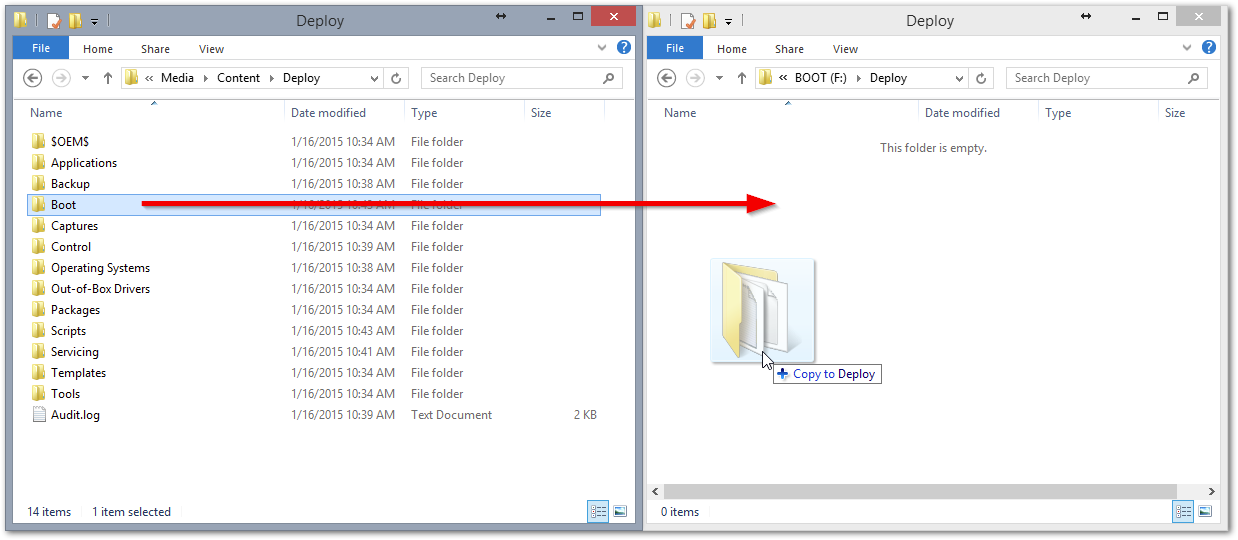
- Create a new folder named Deploy at the root of the BOOT drive.
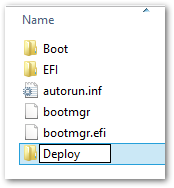
- Copy the
C:\Media\Content\Deploy\Boot\folder to the Deploy folder on the BOOT drive (the folder you just created).
- Copy the
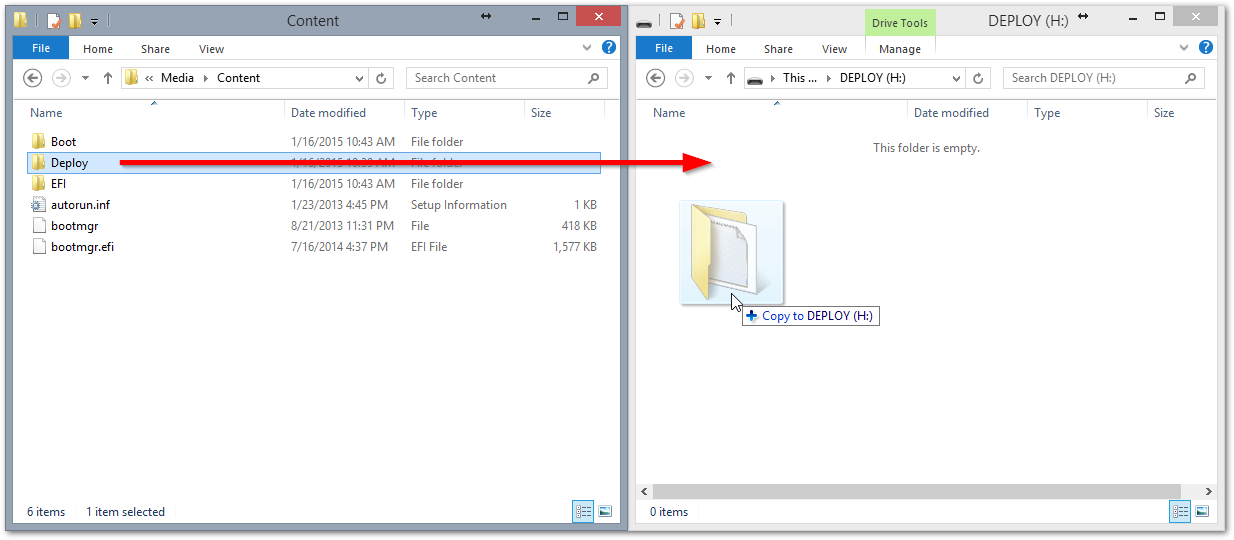
- Perform the following steps for the DEPLOY drive:
- Copy the
C:\Media\Content\Deploy\folder to the root of the DEPLOY drive.
- Copy the
Safely remove both USB drives and you are ready for deployment!
Deploy Windows via Flash Drive
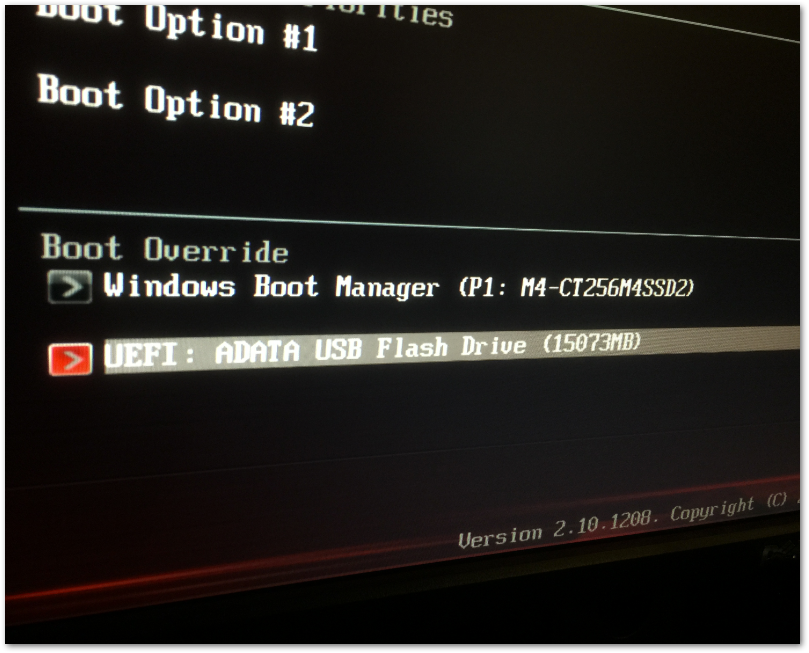
- To deploy, plug both drives into your target machine and UEFI boot to the BOOT drive.
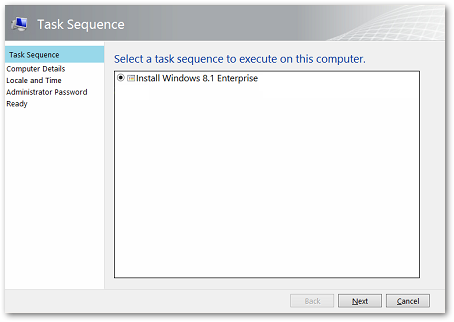
- Click Run the Deployment Wizard to install a new Operating System.
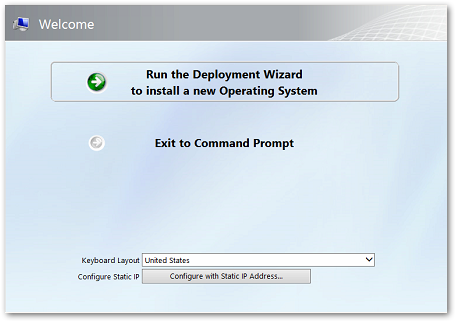
- Select Install Windows 8.1 Enterprise (or whatever you named your WIM) and click Next.
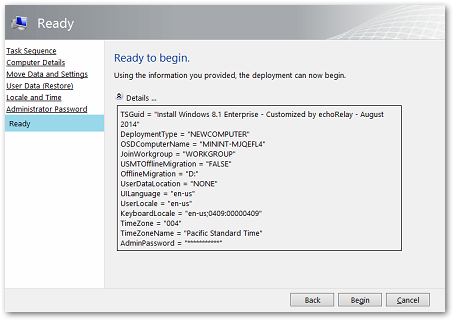
- Follow the prompts to name the computer, join to domain (if desired), move user data (if desired), set Administrator Password, etc.
- Click Begin to initiate deployment.
- Wait patiently as your customized Windows 8.1 Media is deployed to your machine, utilizing UEFI.
Congratulations! At this point, you’ve successfully accomplished a task that drives many admins crazy! Now get up, walk around, and maybe even get some fresh air. You deserve it.
Additional Thoughts: I realize that splitting WIM files would have sped up this process considerably. Additionally, it would have completely negated the need to use a second flash drive or even install MDT at all. Unfortunately, for some reason, Microsoft decided to remove split WIM functionality from Windows 8.1 – thus, I had to find another solution. The benefit to this is that I gained some MDT experience, and going forward I’m going to try and use it for standalone scenarios where SCCM is not available.
Let me know your experience with following these steps! Hopefully they were relatively easy to follow and you didn’t run into too many snags.
Until next time..